Car Rental Inspection Form: A Six-Step Guide
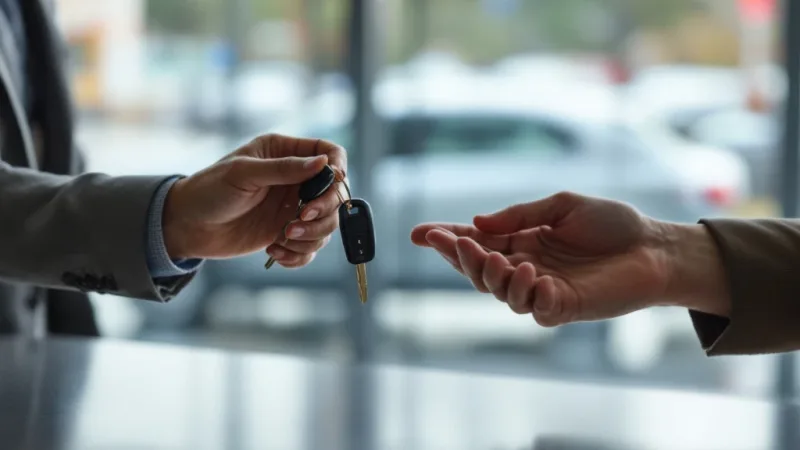
Every rental or loaner that leaves your counter needs two records, one for the handoff and one for the return. A car rental inspection form holds both: it has an OUT column filled in before the keys leave and an IN column filled in when the car comes back.
Step 1: Print one record and map for each rental
Use one sheet for each rental, not one for each day. Print the check-out and check-in record on the front and the zone map on the back, so the two stay together. Print at actual size, 100 percent, and flip the sheet on the long edge.
Type the shop name, address and phone into the header once. Then add a unit number and the record date.
The header fields in the paid kit are shop name, shop address, shop phone and shop logo, and they repeat on every sheet. To put your logo on the sheets, open the add-your-logo page that comes in the kit's zip file in a Chromium-based browser. It was tested offline in Chromium. Chrome, Edge, Safari and Firefox were not run, and nothing is uploaded. Whatever you hand the renter carries your name, address, phone and logo.
| Step | What to do | What to watch for |
|---|---|---|
| 1 | Print one two-sided record and map per rental | Print at 100 percent, flip on the long edge |
| 2 | Enter the renter and the vehicle | Retype the VIN from the door label |
| 3 | Fill the OUT readings and mark the zones | Do it before the keys leave |
| 4 | Log every issue | One line per issue, with a photo number |
| 5 | Fill the IN column at return | Same order, same codes |
| 6 | Work out miles driven and flag damage | Miles driven is IN minus OUT |
Step 2: Enter the renter and the vehicle
The record opens with who and what. For the renter or loaner customer, write the name and phone, the driver license number and its state and expiry. For the vehicle, write year, make, model and color, the plate, and the vehicle type, such as a car, SUV or 4x4, van or pickup.
Then the VIN. It has 17 characters and a cell for each one. A VIN uses numerals and a set of letters that leaves out I, O and Q, per 49 CFR 565.13. Compare what you typed with the label on the driver door. If you typed an I, an O or a Q, fix it.
Step 3: Fill the OUT readings before the keys leave
OUT means vehicle released. Fill these in at the counter, with the renter beside you.
| Reading | How to write it |
|---|---|
| Date and time | The moment of release |
| Odometer (mi) | One digit in each of seven cells |
| Fuel | Eighths, 0/8 to 8/8 |
| Keys or fobs | How many |
| Equipment | For example key, manual and roadside kit |
Regis University's vehicle policy makes the same two readings a rule for its fleet. Operators must list the mileage both starting and ending on the log. Fuel in eighths works the same way. A number is easier to compare than "about three quarters".
Then walk the car with the renter. On the zone map, write OK in each rectangle with no damage, or a code: S scratch, D dent, C chip, CR crack, M missing, T tear, ST stain. Write N/A where the vehicle has no such part. On the vehicle checks sheet, mark OK, X or N/A for each item.
Last, the OUT sign-off. The renter signs and writes initials, and the staff member writes initials.
Step 4: Log each issue on the damage and photo log
Every X on the vehicle checks and every code on the zone map gets a line on the damage and photo log. Use one line per issue and add a sheet when the first one is full. Add the zone or check number, the code, a short description, the size and the photo number and time.
Size is the part people skip. "Scratch, driver rear door" could mean anything. "Scratch, driver rear door, 3 in., below the handle" can be found again at return.
Note the Carleton College fleet procedure for a comparison. Drivers there note any damage on the reservation report form before leaving and report any damage on the same form at return. One form, two moments.
Step 5: Fill the IN column when the car comes back
IN means vehicle returned. The renter hands back the keys, and you do the same walk in the same order. Enter the IN date and time, the odometer, fuel in eighths, the keys and fobs, and the equipment. Mark the zone map and the vehicle checks again in the IN cells.
The second walk is only as good as the first one.
Compare each IN cell with its OUT cell. A zone that read OK at OUT and S at IN is a new scratch. A zone that read S at both is the old one.
At the end, the renter signs and initials the IN side, and so does staff.
Every person at the counter works from the same sheet. The OUT and IN sides list the same items in the same order, and the damage codes are the same seven letters on both. The kit's filled sample shows a new scratch recorded at return, and it is meant for staff training. Walk a new colleague through it once, then let them fill the next record with you beside them.
Step 6: Work out miles driven and flag the damage
Miles driven is the IN odometer minus the OUT odometer. In the filled sample, the car goes out at 128,642 and comes back at 128,817. That is 175 miles. Put the figure in the miles driven cell.
The last step is the counter log. It takes one row per vehicle. Record the OUT and IN time, odometer and fuel, the due-back time, the miles, the damage flag and the staff initials. The flag is Y when a damage-log line exists and N when none was noted. A glance down the Y and N column shows you which returns need a second look.
Rental check-in and check-out form vs. a shop's repair inspection form
The two forms answer different questions. A rental check-in and check-out form is a condition and handoff record. It says what state the car was in when it left, what state it came back in, and who signed for each. It holds odometer, fuel, keys, equipment, a zone map with damage codes and a damage and photo log. It does not judge whether a part is worn.
A repair shop's inspection form is a record of mechanical findings and recommendations. The technician marks each item Pass, Attn or Fail, writes down measurements such as brake and tire readings, and the shop turns the findings into a recommended repair. The Multi-Point Inspection Kit works this way, with a separate sheet for findings and estimate.
A shop that lends cars while a customer's car is in the bay can use both. The repair form follows the customer's car. The Rental & Loaner Check-In / Check-Out Kit follows the loaner, so the loaner counter has the same OUT and IN record a rental counter would.
The record is the shop's or counter's own paperwork. It is not a state inspection, it is not a manufacturer's form, and it is not a checklist for a private person renting a single car.
When a car rental inspection form is not enough
The record is a condition and handoff record. It is not a rental agreement. It has no rates, deposit, insurance terms or payment, and it does not decide who pays for damage. Keep your agreement for that.
A paper form also depends on the person at the counter. A skipped walk-around is a blank column, and a blank column proves nothing. If you rent out many cars a day and need photos stored with each contract automatically, software fits better.
Typing, checkboxes and saving were tested only in pdf.js, the viewer built into Firefox, running in Chromium. Other viewers were not tested, including Chrome's own viewer, Firefox itself, Edge, Apple Preview and Acrobat. Print at Actual size, 100 percent, so the cells line up.
Get the sheets already laid out
The Rental & Loaner Check-In / Check-Out Kit has everything in the six steps. It holds the two-sided record and map, a 52-item vehicle checks sheet, the damage and photo log, the counter log and a filled sample showing a new scratch recorded at return. Print one record and map pair per rental vehicle and keep one counter log at the desk.
Frequently asked questions (FAQ)
How to fill out a rental inspection checklist?
Fill the renter and vehicle details first. Before the keys leave, write the OUT date, time, odometer, fuel in eighths, keys and equipment, and mark each zone and check item. At return, fill the IN column the same way, work out miles driven as IN minus OUT, and log any new damage.
What should I do before returning my rental car?
Expect the walk-around to happen again. At return, staff fill the IN column with the odometer, fuel in eighths, keys and equipment, and walk the car in the same order as at pick-up. Anything that differs from the OUT column is looked at, so keep the keys, equipment and belongings together.
What should be included in a vehicle inspection?
For a rental handoff: renter and vehicle details, VIN, odometer and fuel at release, a zone map with a damage code for each zone, a check of lights, tires, interior and equipment, a damage and photo log, and signatures and initials from staff and renter.
Conclusion
Fill the OUT side completely before the keys leave, and fill the IN side the same way when the car returns. The difference between the two columns is the answer to most questions at the counter: how far it went, how much fuel is left, and whether anything is new on the body.
Sources
- Regis University, Vehicle Check In/Check Out Policy (current page) https://www.regis.edu/policies/vehicle-check-in-out-policy last checked
- Carleton College, Fleet Vehicle Procedures (current page) https://www.carleton.edu/fleet-vehicles/procedures/ last checked
- Cornell Law School Legal Information Institute, 49 CFR 565.13 General requirements, Vehicle Identification Number requirements (as amended 2009) https://www.law.cornell.edu/cfr/text/49/565.13 last checked